31st Jan 2020
DIY Rope Dog Leashes
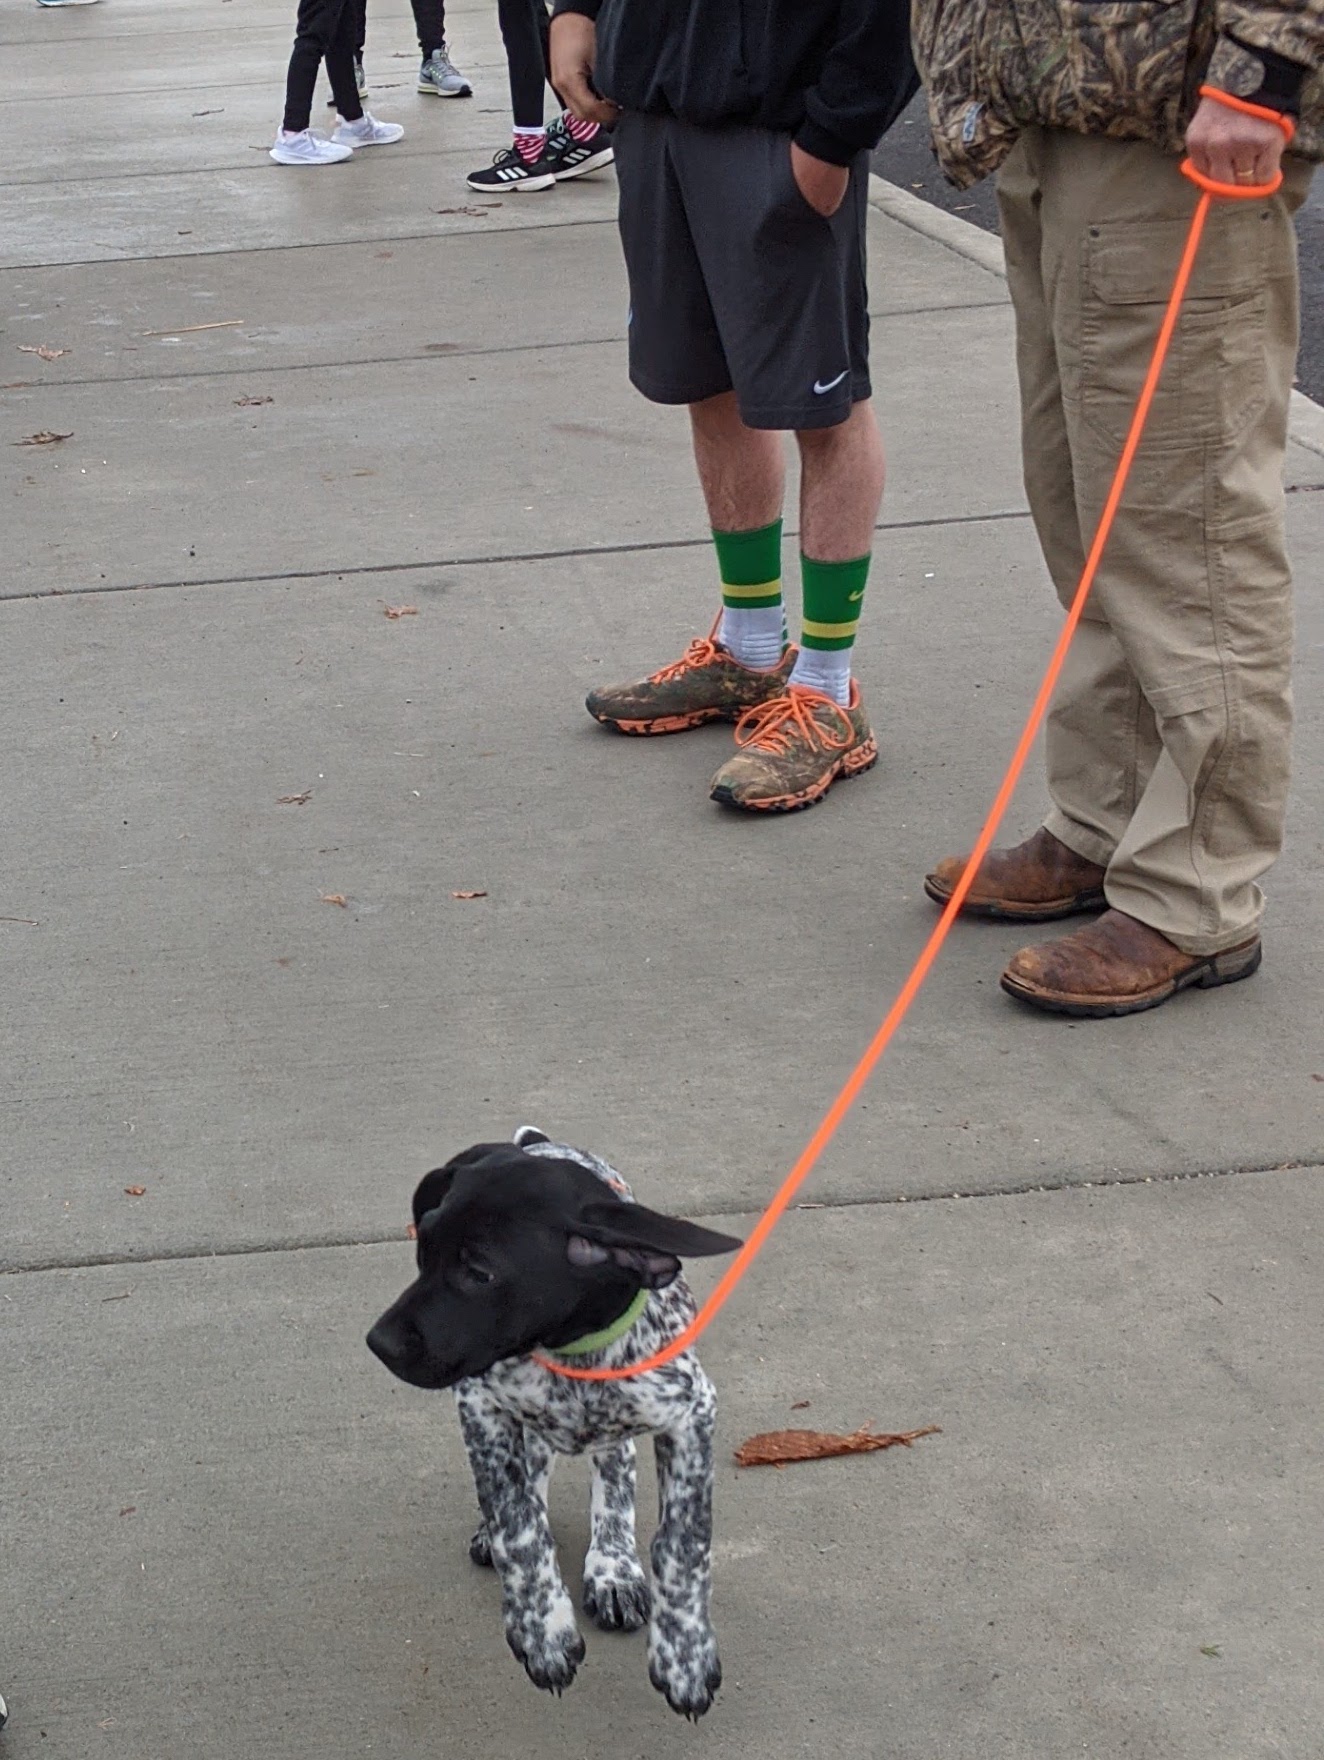
Rope Dog Leashes make for great gifts and by following these simple steps, you can make one in just 15 minutes!
First up, purchase these inexpensive supplies. You can check out our rope by the foot and spools (5/8" Flat Braid Rope) and hardware at cbknot.com.
We use a flat braid rope for this demonstration. It's a 5/8 inch diameter MFP and the inside of the rope is actually hallow. What you want to do is take some pretty sharp scissors and cut it at an angle. Then I take packing tape (you could use masking tape or some other type of tape) and you're going to twist this end until it is in a sharp point. Go until about 10 inches and then you are going to insert a fid and if you go between the carriers of the rope it would actually slide right down the middle.
Take your snap and feed it into the rope. This fid is a 7/16 inch fid and fids are used for splicing rope and this is a tubular aluminum one (you can use different sizes a half inch is a good size to use.) And then take the end of your taped rope and take a piece of tape and tape it on. Then feed this down until right around 8 inches. Then come up in between the carriers and pull it through. Then you're going to milk the cover back over. This should work as a chinese yoyo so it should not come undone, however we recommend stitching this section of it.
Ok now we're going to measure and do the handle portion of the dog leash. Most dog leashes around 5 to 6 feet, so we're not going to include the snap we are just going to include the rope portion. I'm going to measure out 5 feet so there's three 24 inches and that's 5 feet and mark it with a piece of chalk. This is where you're going to want your rope to splice back in, so if you want to go in about 10 inches what you're going to want to do is go ahead and measure another 10 inches and so that's the part that's going to be spliced in. And then you need to figure out how big you want your handle portion. Then put a mark where you want the handle to start, go another 10 inches that will be spliced into the rope and then the portion that will be your handle.
At your third mark, cut the rope at an angle, take the tape and make another pencil end. Then find the first mark that you did with your chalk and put the fid back in the same way that you did and put the snap in (turn it around if you need to). Next go down 8 inches, take your fid out and put your pencil end in again and pull it through and this is where you can adjust your handle, cut it off, milk it, and pull it down a little bit.
The handle has to be sewn so you can hand stitch with fishing line or a wax thread and do a needle and thread up and down. Do the other end the same way, but be really careful because this will come undone. Go back a little further on this one (4 inches) and sew it the same way.
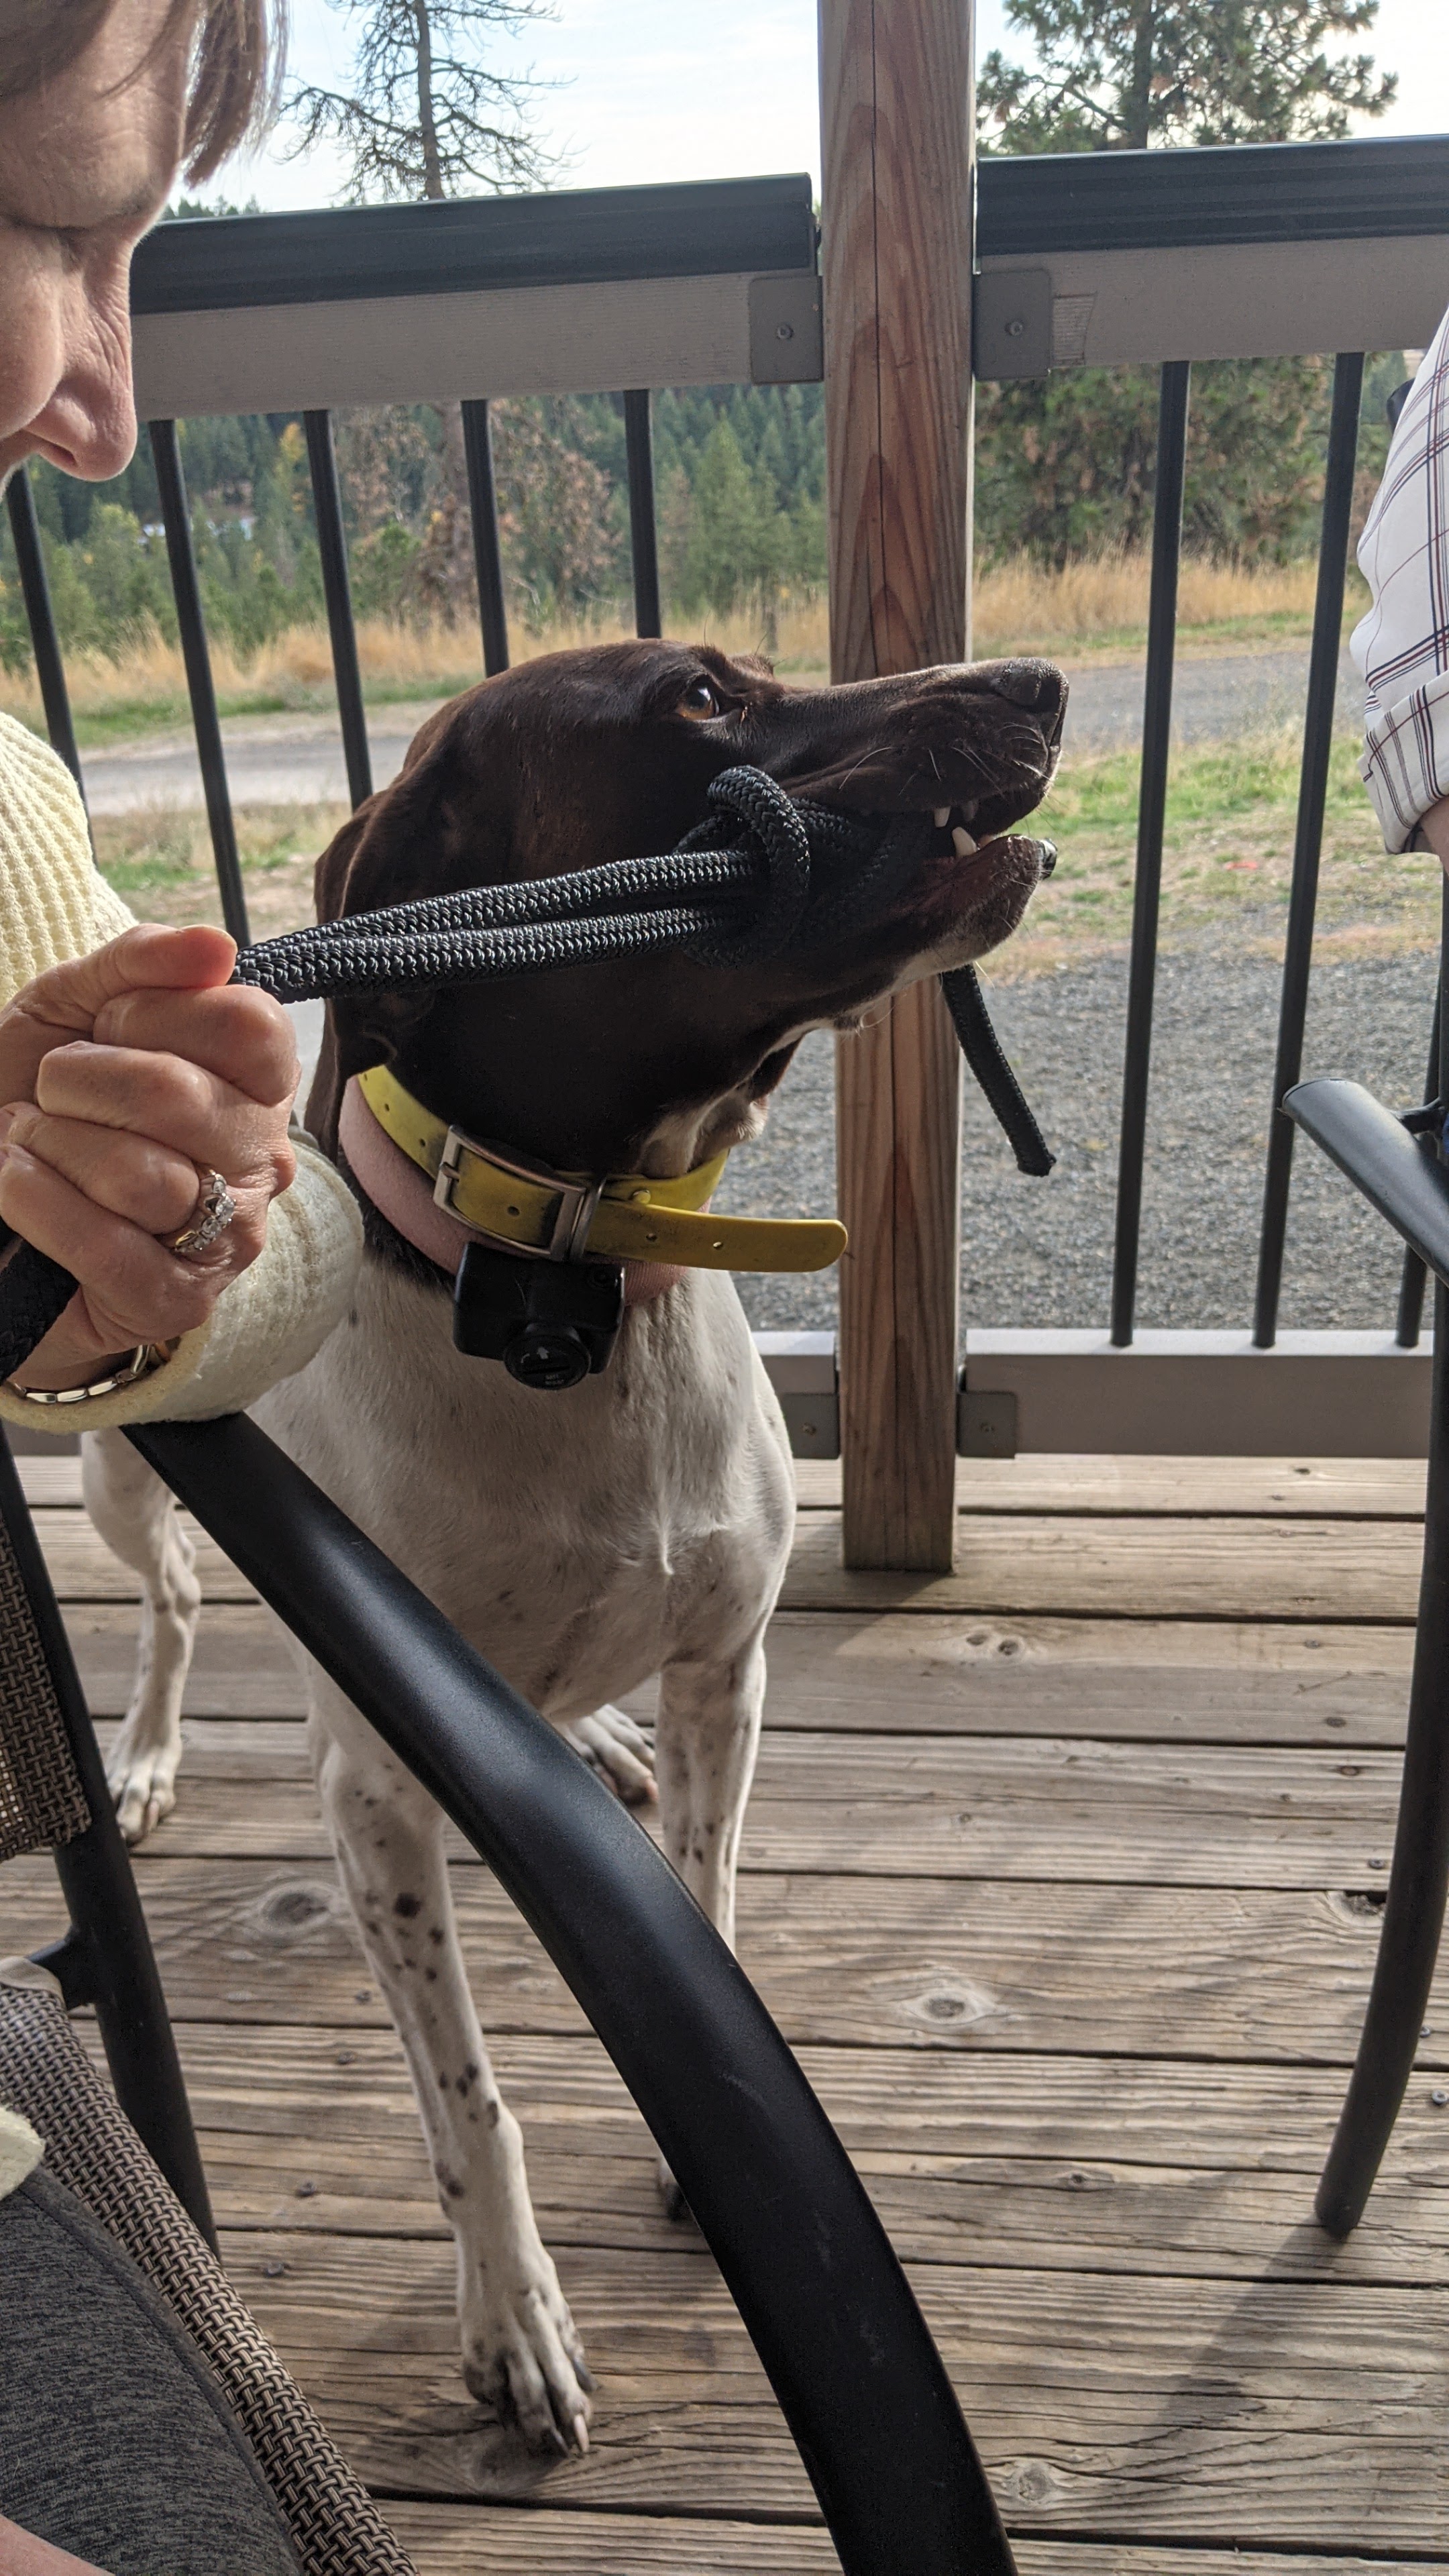
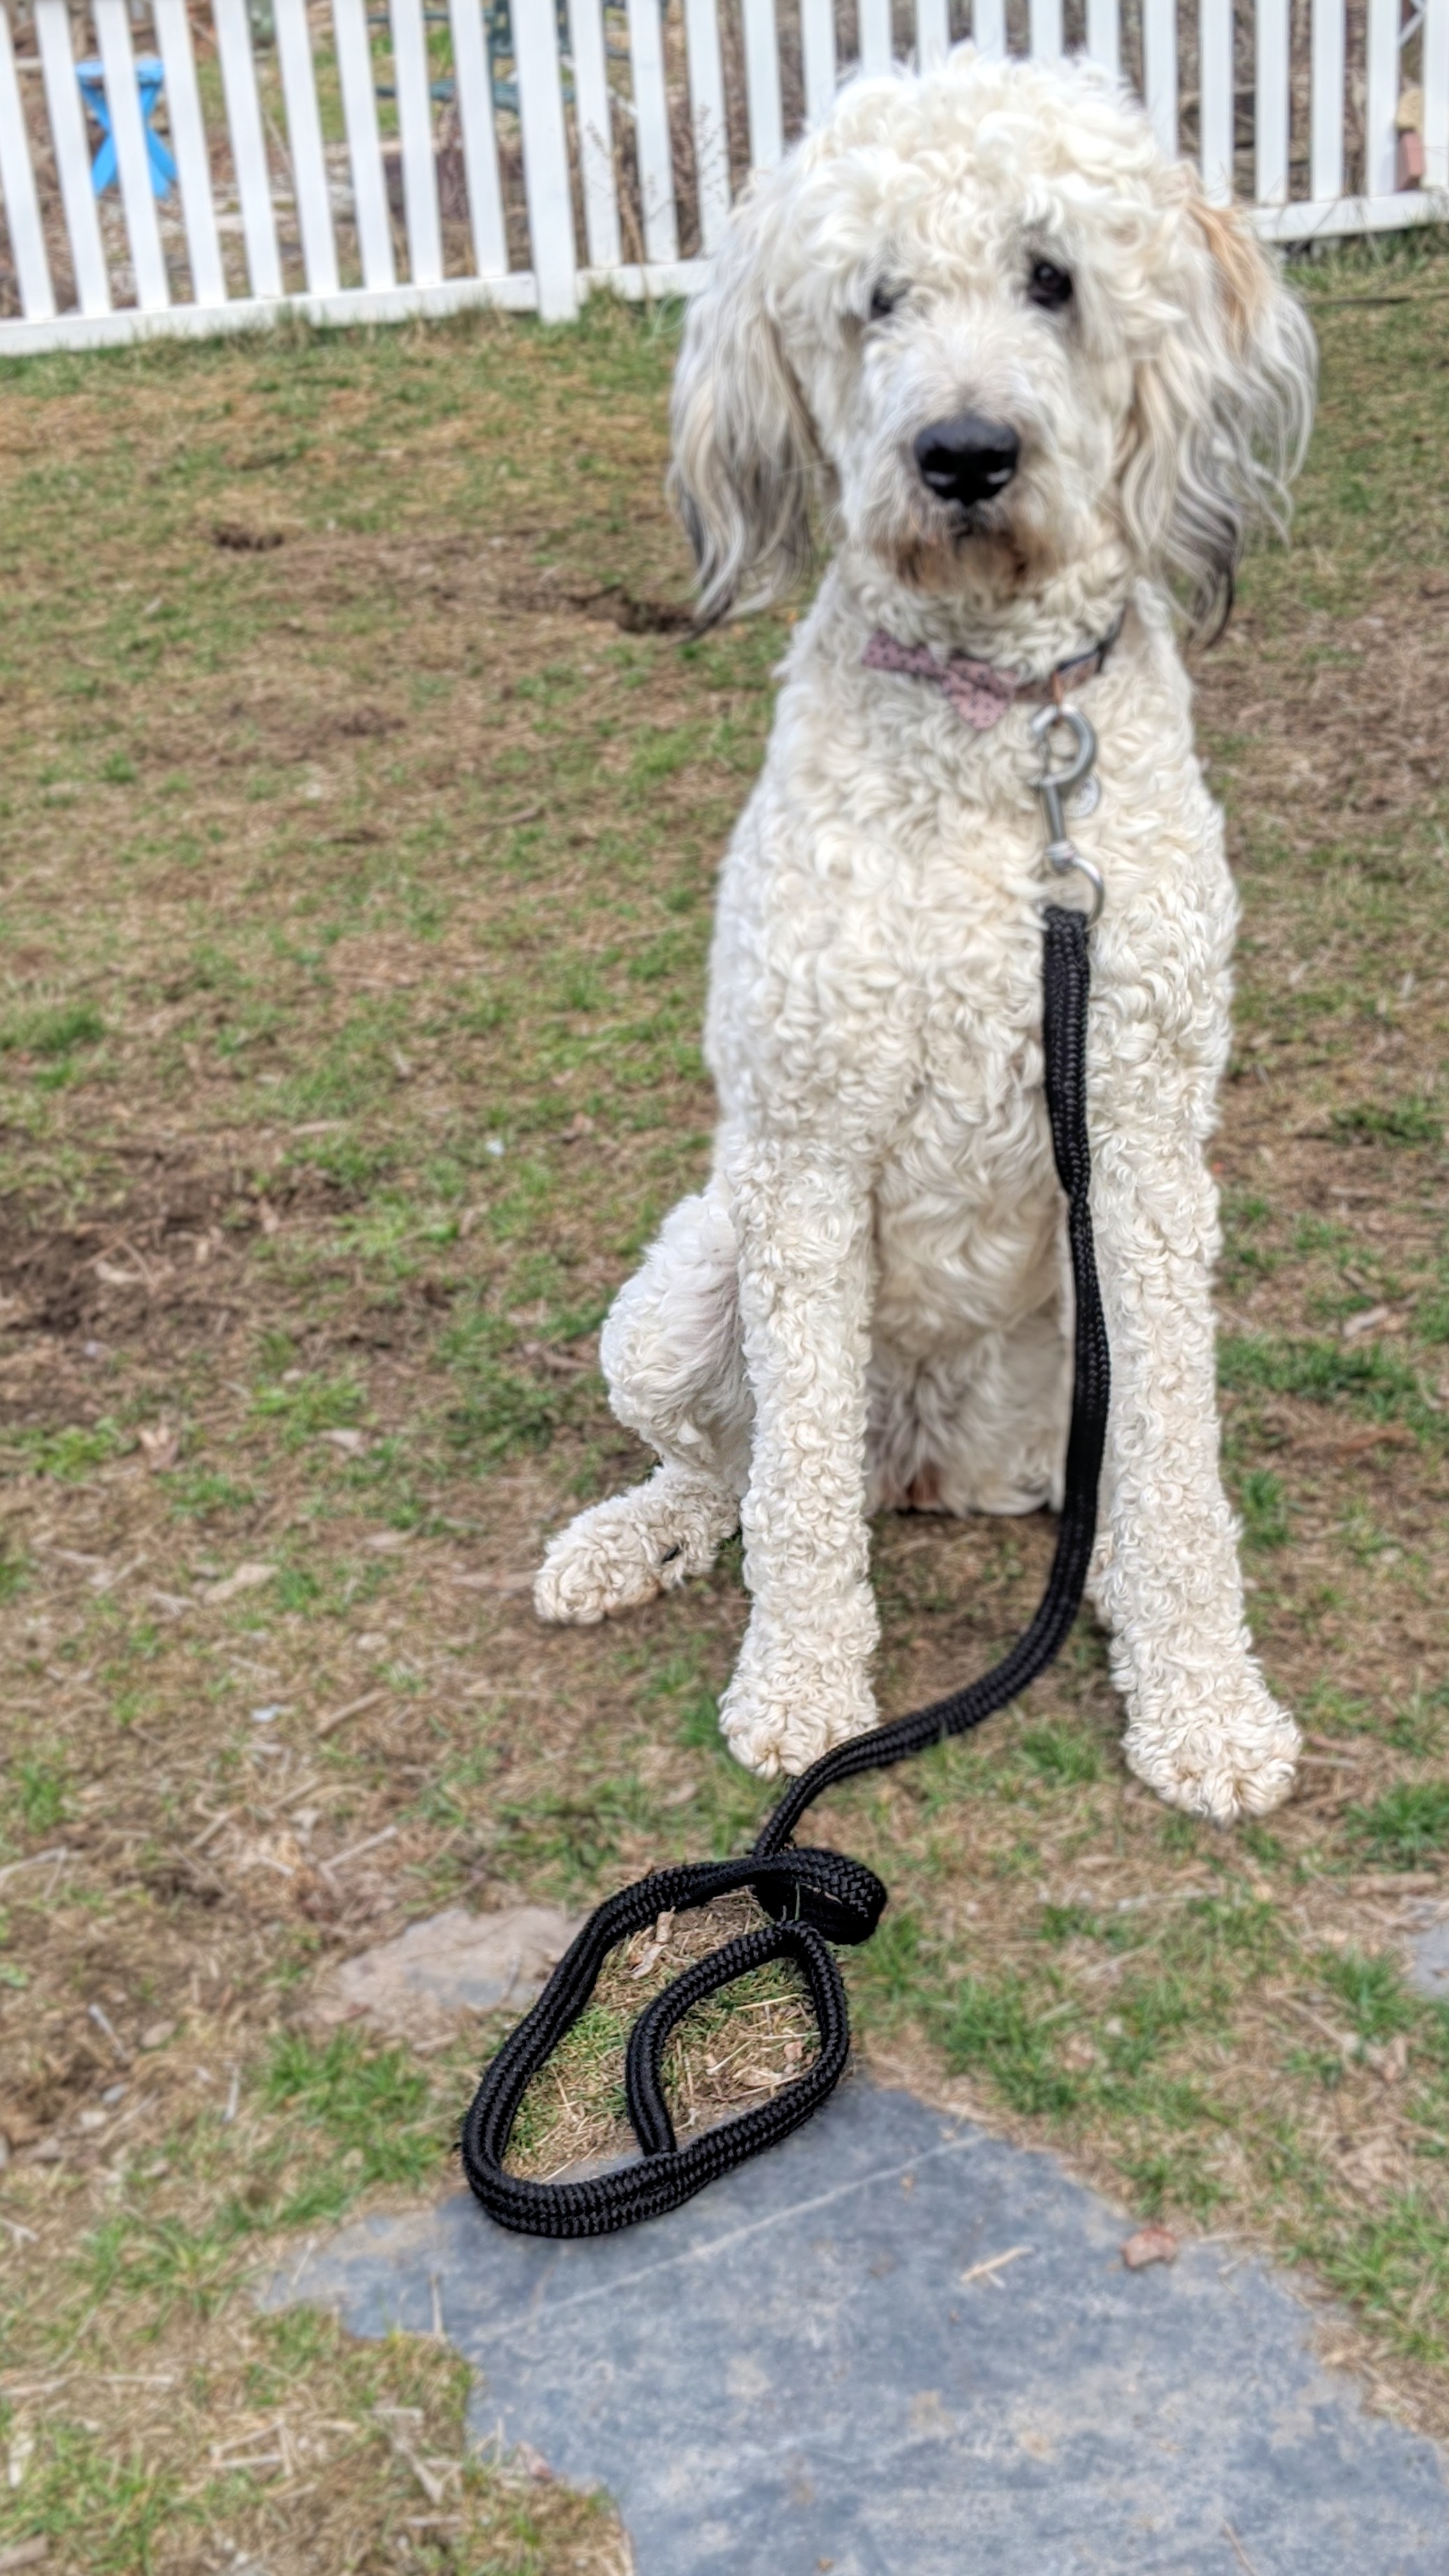
Nice work, you did it! You completed a dog leash. You can find this rope and hardware at at Columbia Basin Knot Company (cbknot.com).
Are you a visual learner? Check out this video!
NEED ANOTHER USE FOR ROPE?
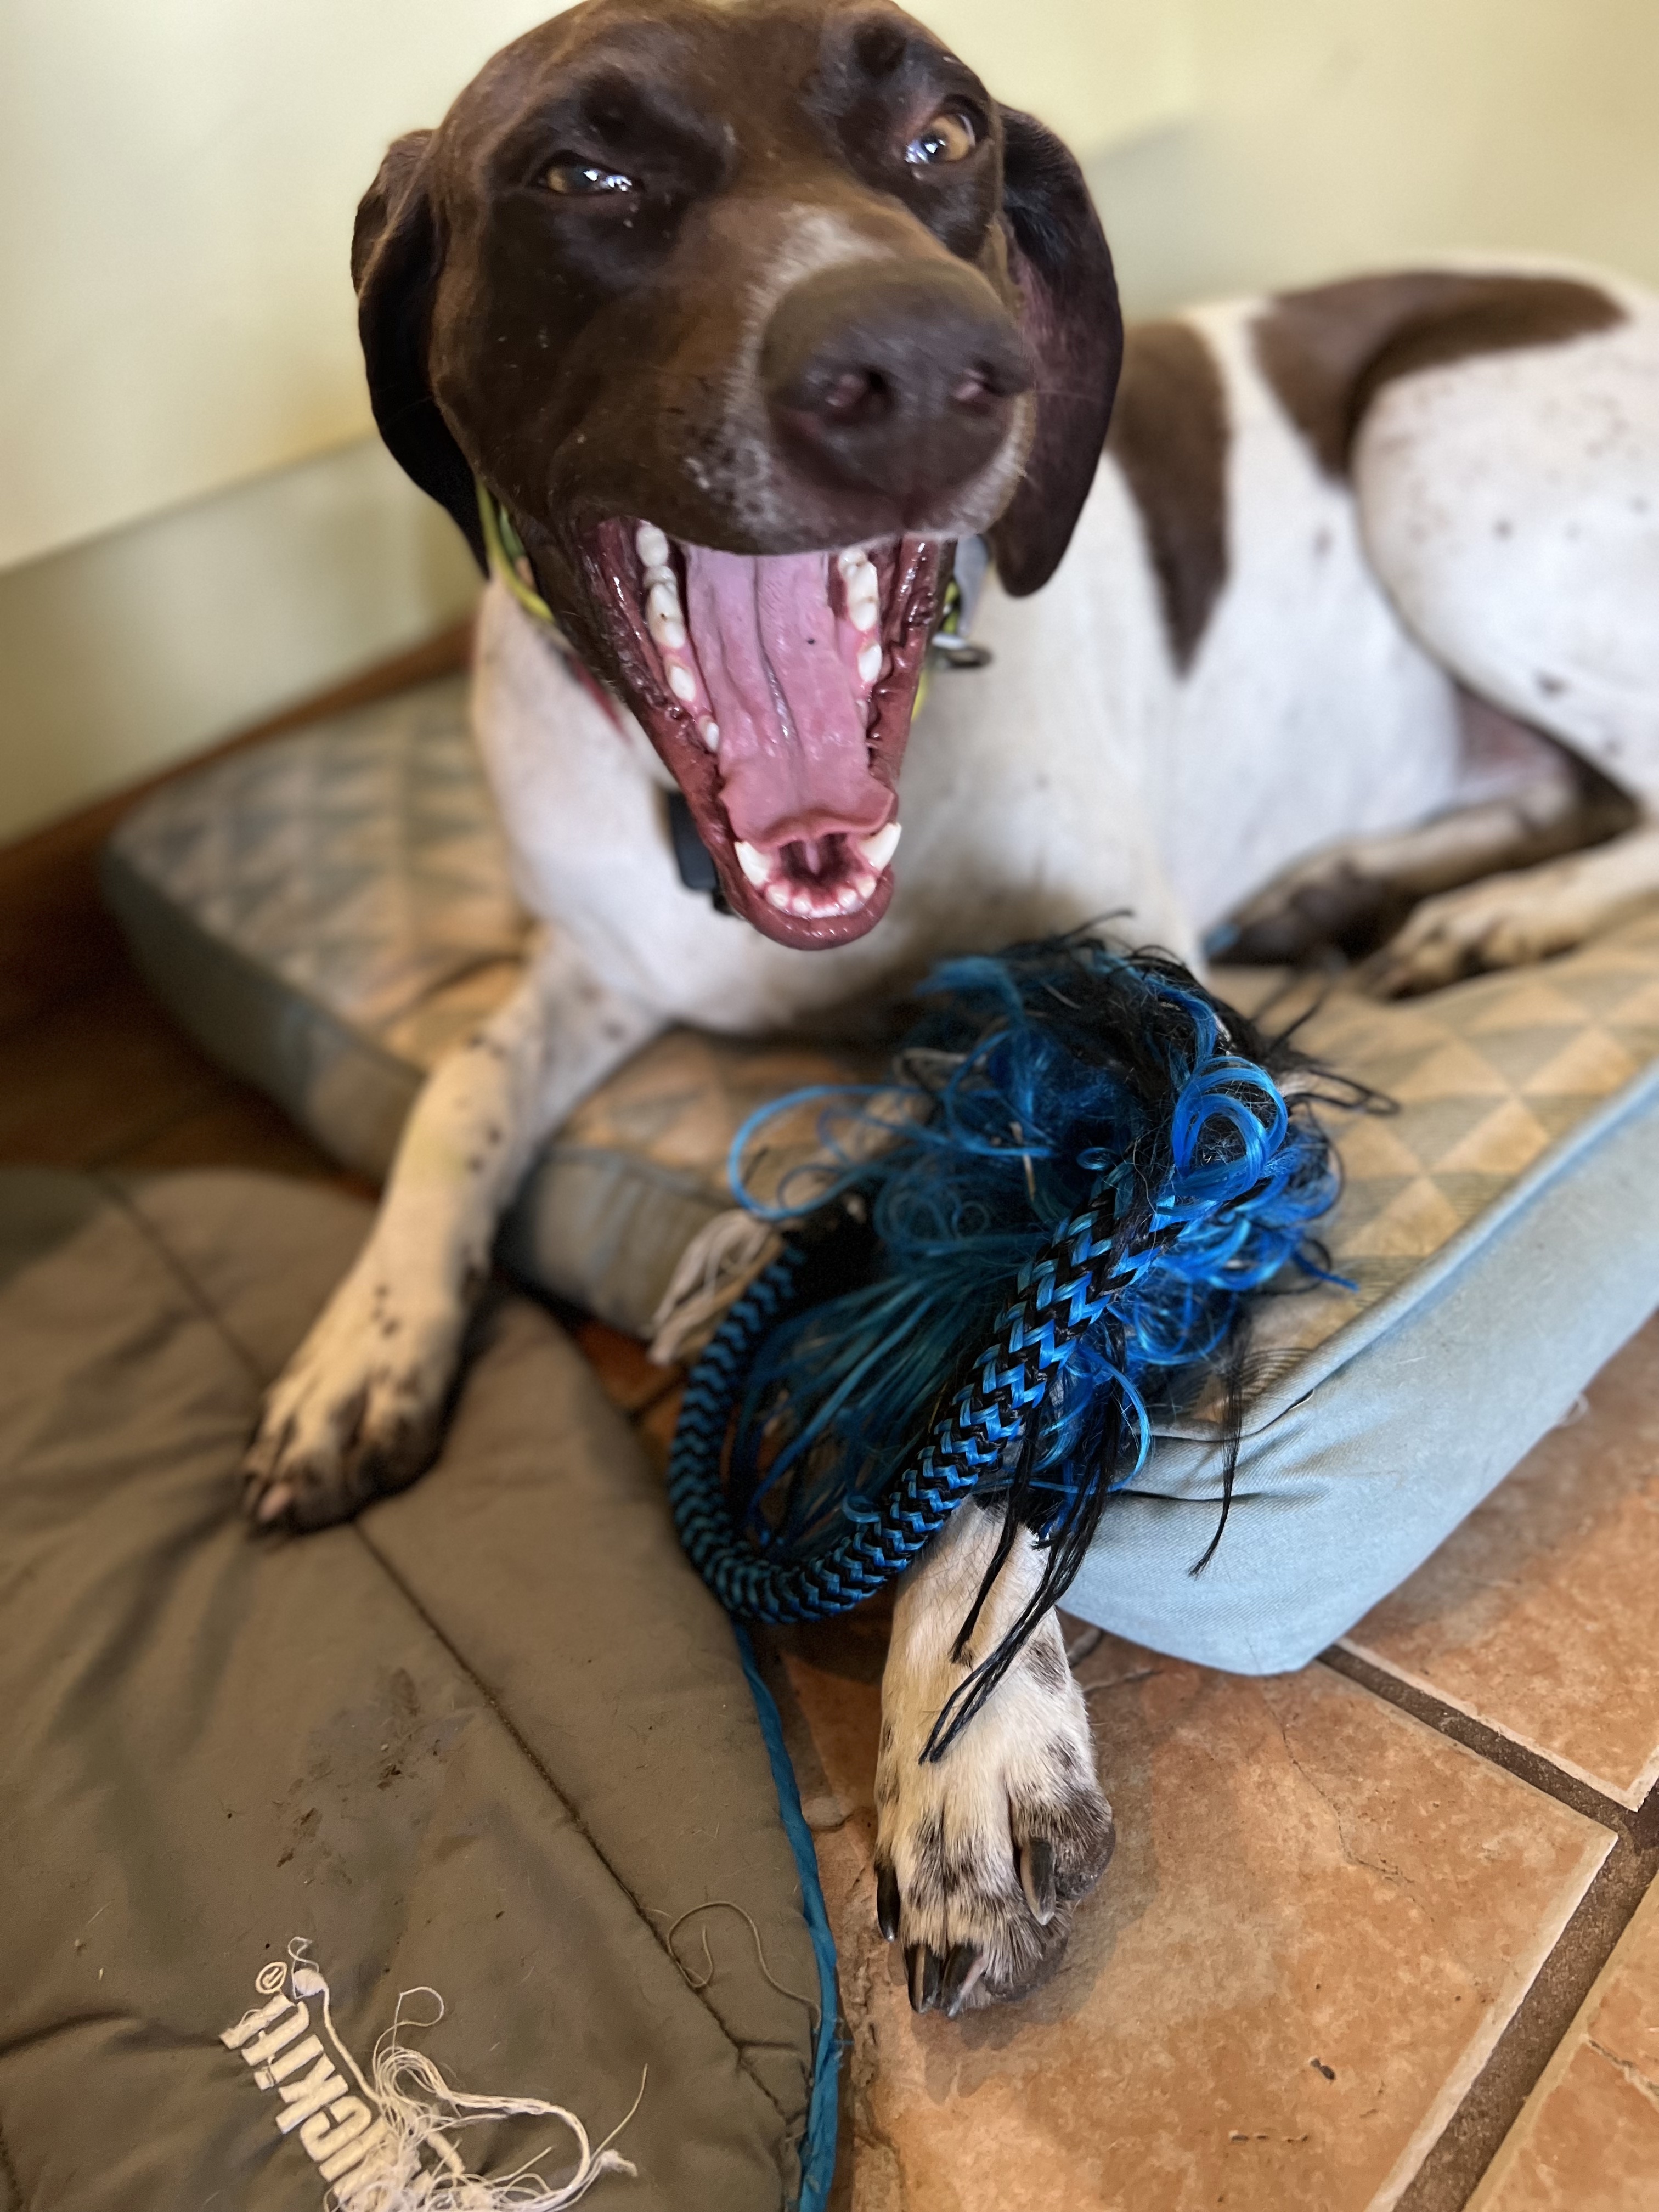
Make a dog toy!